Learn the science behind:

The Science of Dutch ‘Borstplaat’ – A Crystalline Candy (+ Recipe)
Borstplaat is a sweet, creamy piece of typical Dutch candy. It literally melts in your mouth, thanks to the tiny tiny sugar crystals within. It’s a scientific feat and just one example of a crystalline candy. As a matter of fact, it’s closely related to both fondant and fudge.
Unless it’s November or December, you will have a hard time finding Borstplaat in Dutch stores. “Borstplaat” is a true seasonal Dutch delicacy and has no real equivalent in English. Borstplaat, just like fondant or fudge, might not be the easiest to make. But, once you understand what happens when you make it, it does become a lot easier.
The Science of Borstplaat – A Crystalline Candy
What is borstplaat?
Borstplaat is a classic. Cookbooks dating back to the 18th-century already contained recipes for borstplaat. Borstplaat is a sweet delicacy made with mostly sugar. It can be flavored, with coffee or chocolate for instance, or have a more neutral taste profile.
When you place a piece of borstplaat on your tongue, it literally melts away, thanks to a lot of tiny sugar crystals, dispersed throughout. When these crystals touch your tongue, they instantly and quickly melt away. The trick to making a good borstplaat is to keep all these sugar crystals very small in size. Borstplaat shouldn’t contain any large sugar crystals. These would make the borstplaat grainy and crunchy.
What happens when making borstplaat?
Even though making borstplaat consists of just two steps, there’s a surprising amount of science hidden within. Let’s have a look at the process first:
- Cook sugar, cream and water to a set temperature
- GOAL: create a supersatured sugar solution
- Stir the mixture – maybe add some sugar crystals – to harden the mixture
- GOAL: form tiny sugar crystals
Scroll down to find the complete recipe if you’d like some more details.
Step 1: Cook to supersaturate
Supersaturated what? Don’t have a clue where that refers to?
Don’t worry, we’ll start at the beginning. To do so, we need to have a closer look at sugar.
Borstplaat is made with regular sugar, made from beet or cane. This sugar is made up of a molecule called sucrose. Sucrose is a very special and unique molecule in how it interacts with water.
Dissolving sugar – reaching saturation
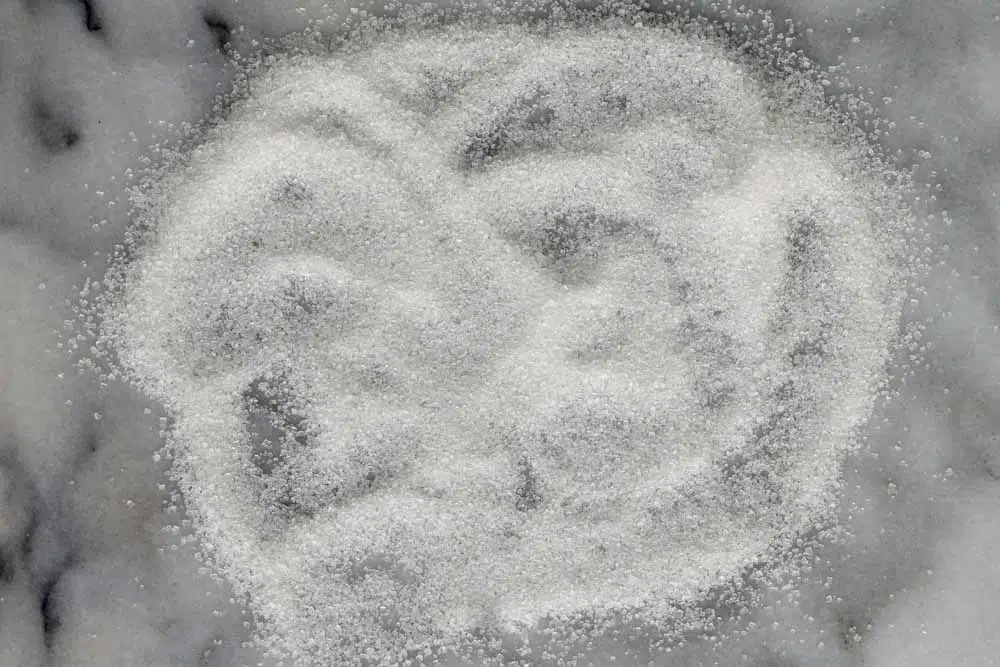
In ‘regular’ sugar, sucrose is present in its solid form. The molecules have formed small crystals. You can easily see these crystals with your bare eyes. You can even see them in the photo above. Each crystal is made up of tightly stacked and organized sucrose molecules.
When these sugar crystals come into contact with water, they dissolve. The individual molecules let go of each other and they go their respective ways. Once dissolved, you can no longer see the sucrose molecules. They’re too small to see and every sucrose molecule will be surrounded by water molecules.
You can dissolve a lot of sugar in water. At room temperature, you can dissolve about 200g of sugar in just 100g of water! At some point though, the water is ‘full’. There is no place left for more sugar crystals. There simply aren’t enough water molecules to surround them. If you add any more sugar crystals at this point, they will just float to the bottom.
At this point, we say the solution is saturated. You’ve dissolved as much sugar as you possibly can.
Dissolve even more sugar – Heat it
How much sugar you can dissolve in a quantity of water depends on the temperature of the water. The warmer the water, the more sucrose molecules ‘fit’ in the water.
However, if you then cool the sugar solution down again, it will contain too much sugar. The solution is what we call supersaturated. More sucrose molecules are dissolved in the water than is technically possible. This is not a stable situation. The slightest push will cause sugar molecules to find one another and form crystals again.
Cooking sugar syrups is the key to many candies. Want to understand how sugar, water and heat relate? Read our ‘Science behind cooking sugar syrups‘ article.
Borstplaat needs a supersaturated sugar solution
When you make borstplaat, you actually want to create a supersaturated sugar solution.
Remember that borstplaat contains a lot of tiny sugar crystals? Well, in order for those crystals to form we have to create a desirable environment for them to form.
It’s why recipes for borstplaat will tell you to cook sugar and cream to a temperature well above the boiling point of water (100°C/212°F). You’re creating a supersaturated solution. In the next step, you’ll use that supersaturated solution, to actually create those crystals.
Step 2: Creating a lot of tiny sugar crystals
Ok, so you’ve boiled your sugar to dissolve a lot of sugar in a little bit of liquid. Next, you’ve cooled it down to create that supersaturated solution. More sugar is dissolved than is energetically stable.
Now, it’s time for you to initiate the crystallization of those sugar molecules! Since you have a supersaturated solution, that’s actually pretty easy to do. It only needs a little push to get going.
When you make borstplaat you use two main techniques to do so:
- Stirring
- Seeding – adding in tiny crystals
You can cause sugar molecules to crystallize in a supersaturated solution, without stirring or seeding. However, it will take a lot more time. It’s what you do when making rock sugar!
Stirring brings molecules together
For sugar molecules to form crystals they need to meet one another. Only together can they form crystalline structures. You can help them along by stirring, or, as scientists would say: shearing.
If you quickly steer the sugar mixture, you make it easier for sugar molecules to meet!
For a lot of sugar candy processes recipes will tell you the reverse, to NOT stir. This is indeed very important when you do NOT want sugar to crystallize. For example, when you’re caramelizing sugar or aiming for a soft, stretchy caramel.
Helping along by adding crystals – Seeding
Another way to help crystals to form is by adding crystals. It is easier for sucrose molecules to grow onto an existing crystal, than it is to start one from scratch. The energy required for making that first crystal is higher.
So, to help crystallization, you can add a few crystals. Other sucrose molecules can then attach themselves to the crystal and grow it.
When you add crystals it is important that you add small ones. Adding back large crystals would make the borstplaat grainy. This is why most recipes won’t tell you to add regular sugar. Those crystals are too big. Instead, you might add some fondant sugar, or in some cases icing sugar. Both of these sugars contain sugar crystals, but they’re a lot smaller than the ones in regular sugar.
Stirring & Seeding – keeps it small
It’s best to use both of these methods simultaneously. By steering, after seeding, you help sucrose molecules find those added sugar crystals. What’s more, by stirring you also break up larger crystals into smaller crystals. This ensures that you make a lot of small crystals instead of a few large ones.
Controlling crystallization is also very important when making another food product: ice cream! Some ice cream manufacturers may use liquid nitrogen to speed up crystallization. When making ice crystals temperature plays a much more important role than when crystallizing sugar from a solution.

Only start when the mix is cool enough
Keep in mind that a sugar solution only becomes supersaturated when it’s cooled down. A hot, boiling sugar syrup is simply saturated. Also, the more supersaturated a sugar solution is, the easier it is to start forming crystals.
This is why recipes will tell you to first cool down your hot sugar syrup. By cooling it down, it becomes more supersaturated and it becomes easier to initiate crystallization.
Why add cream to borstplaat?
Borstplaat can be made with just two core ingredients: sugar + cream. Whereas we’ve quickly mentioned the cream before, we’ve really focused most on the sugar. So what’s the role of the cream?
The first role of cream is to help dissolve the sugar to create that sugar solution. Cream contains a large amount of water in which the sugar can dissolve.
Apart from water, cream’s main ingredient is fat, milk fat. Milk fat is semi-solid at room temperature, but melts in your mouth. The milk fat helps create the unique borstplaat texture.
First of all, it helps create that melty texture. Since milk fat melts in your mouth, it adds to the creamy melting sensation.
Additionally, the cream will help prevent the formation of huge sugar crystals. Water and fat don’t mix. So when a sugar crystal meets a fat molecule, it can’t easily continue growing. Fat helps to separate sugar crystals and keep them separated.
Making borstplaat is not the easiest of recipes, though it’s perfectly possible to do it at home. You might need a few attempts. But hopefully, now that you know why you’re taking these different steps to make borstplaat, it will make more sense when doing so!
Not feeling like trying to make some? If you’re looking for a place to buy borstplaat, it’s best to go to your local (artisanal) bakery. They’ll likely have some, but only in November and (early) December!
Borstplaat (Dutch confection)
Prep Time:
15 minutes
Cook Time:
30 minutes
Additional Time:
20 minutes
Total Time:
1 hour 5 minutes
Borstplaat is all about tightly controlling the crystallization of sugar. It's what makes it a smooth, creamy sweet!
Ingredients
- 125g sugar
- 30g cream
- 40g water
- 15g fondant*
Instructions
Prepare
- Place the fondant in a separate, heat-proof bowl and put it aside.
- Cover a flat tray with some heat-proof silicone mats (we like to use Silpats) or lightly greased parchment paper. If you want to make specific shapes, place those on top.
- The syrup will be HOT. Most plastic cutters/shapes are not heat resistant, it's best to use ones made of stainless steel.
Cook
- Add the sugar, cream, and water to a pot and gently cook to 115°C (239°F)**. The mixture will bubble up quite aggressively, so use a high pot (do not use a frying pan).
- Turn off the heat. From now on you'll have to work quickly!
- Pour the hot (!) syrup over the fondant and quickly whisk it through to dissolve all the fondant. You might notice the mixture will already start to thicken, work fast if it does. Once it's thick, you can no longer pour it.
- Carefully pour the mixture onto the heatproof surface or into the prepared shapes.
- Leave to cool and set. The mixture should start to harden within a matter of minutes though it might take up to an hour to become firm.***
- Carefully remove from the mats and store in an air-tight container.
Notes
*Do NOT use rolled fondant (used to decorate cakes), instead, what you're looking for is sometimes also referred to as confectionery fondant. This fondant is made of just sugar and corn syrup and does not contain any other additions. Confectionery fondant helps to 'seed' the borstplaat with crystals. Once you add some of these crystals, it's easier for others to form as well.
** It is important to stick to this temperature. The temperature ensures that you evaporate enough water for the sugar to become supersaturated. Want to understand how the temperature influences the characteristics of a sugar syrup? Read: The stages of cooked sugar syrups.
*** Does your mixture stay thin and liquid? You haven't added enough sugar crystals or not controlled the temperature properly. You can re-start though. Just remelt your borstplaat, add a little water to help the sugar to dissolve. You do need some new fondant to add to the boiled mixture. You can't do this indefinitely, but starting over 1 or 2 times should not give any major issues.
References
Manon, Borstplaat uit de middeleeuwen, EetVerleden, 29 Nov 2019, link
What's your challenge?
Struggling with your food product or production process? Not sure where to start and what to do? Or are you struggling to find and maintain the right expertise and knowledge in your food business?
That's where I might be able to help. Fill out a quick form to request a 30 minute discovery call so we can discuss your challenges. By the end, you'll know if, and how I might be able to help.


