Learn the science behind:

How to do Your Own Food Science Experiments at Home
When it comes to science experiments, you might think about beakers, dangerous chemicals, complicated set ups, safety goggles, and lab coats. We don’t think that’s a proper representation though. You can do science experiments in so many more places, in so many more ways. And of course, us being food scientists, we’re especially fan of doing science experiments in kitchens, big or small.
No need for any beakers, dangerous chemical or lab coats. You might want an apron, a bowl, a recipe, and some basic food ingredients and you can do some real science!
What is Science?
Science may sound foreign and complicated to some. And that’s a shame because science isn’t, it’s almost the opposite, it’s all around us. Science is simply a structured way of looking at what’s around us. Scientists watch and measure, they observe and use those observations to draw conclusions. They pose a hypothesis, something they believe to be true, and will then figure out whether that is indeed true.
Science: (knowledge from) the careful study of the structure and behaviour of the physical world, especially by watching, measuring, and doing experiments, and the development of theories to describe the results of these activities
Definition of science according to the Cambridge Dictionary
Science is super helpful and important, because, if done right, it will help us learn things about the world. We wouldn’t be able to go to the moon without science and we wouldn’t have canned food without science. The good thing about proper science is that it’s not just someone’s opinion or singular observation that describes something. Instead, scientists carefully design their experiments to make sure that what they see is really true and not just a fluke or a coincidence.

When to do Food Science at Home
So science helps us answer questions and understand phenomena, big or small, complicated or simple. Food scientists specifically do this for food. They design and execute all sorts of experiments with food to better understand how and if it works.
Any type of cooking and food preparation is, at its core a bit of a science experiment! You’re using previous knowledge to make your dish, probably tweaking a few things, trying something different. Every dish you make is an experiment! If you’re a recipe developer/food blogger, you’re probably continuously testing and experimenting. We would be tempted to say you’re a food scientist.
Doing experiments is a great way to try and improve recipes or to test whether a claim someone is making about a food or an ingredient is actually true. You could for instance want to know:
- Can I use potato starch in my cookie instead of wheat flour?
- Why does the color of cabbage change color when you cook it?
- What is the impact of temperature on the browning of a cookie?
Doing Food Science Experiments at Home
The best way to find an answer for any of these, is to do an experiment :-)! So how do you go about doing such an experiment at home?
Step 1: Define your hypothesis
In other words, define what it is that you’re trying to prove or figure out. When you know what you want to learn, write it down as a statement. This is what you’ll be trying to prove is correct (or incorrect). For instance:
- Hypothesis 1: Potato starch and wheat flour can be used interchangeably in a shortbread cookie.
- Hypothesis 2: The color of cabbage depends on the acidity of its environment, it turns red under acidic conditions.
- Hypothesis 3: A higher temperature will cause a cookie to brown faster in the oven.
Step 2: Design your experiment
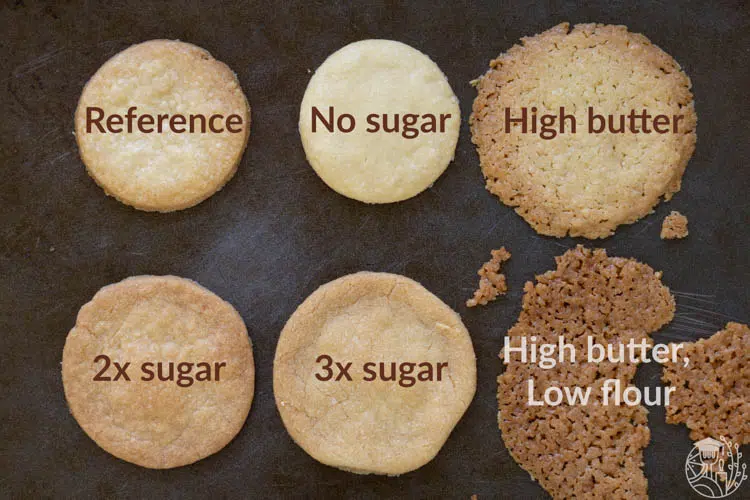
This sounds more complicated than it is. It really is nothing more than coming up with a few recipes or steps to make the food you’re researching. The most important part here is that you compare differences equally. You do this by making the two (or more) products in the exact same way, with the exception of one thing. In the case of your cookies (hypothesis 3). You will want to use the same cookie recipe, the same size, the same oven, etc. All you want to change is the temperature. That way, you’ll be sure that it is temperature that is impacting the color of your cookie!
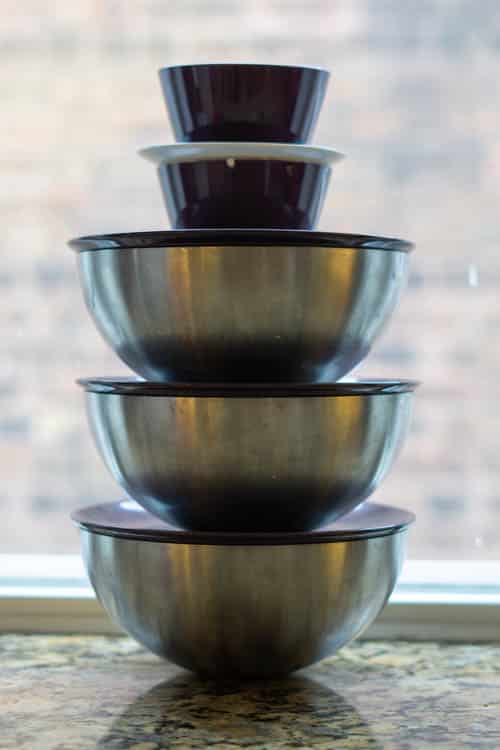
Be Smart about quantities
In a lot of cases you don’t have to make a complete batch of your recipe for every condition. Here at FoodCrumbles we often take a recipe and split that recipe in 2 or 3 portions and use every portion for a different variable. That way you don’t waste a ton of food (or have to eat a ton of food)!
In the case of our cookies, you can make one batch of your favorite cookie recipe and spread them out over three different trays. You then bake these trays one after the other, each at a different temperature! You’ve got a good amount of cookies and a completed test.
Make the difference big enough
Don’t be surprised at how robust a lot of foods and recipes are! Often changing the oven temperature by 10C/F doesn’t really make a difference, nor does 1/8tsp of salt in a soup. When you’re testing, make sure your differences are big enough so you can actually see an effect (or none, if there truly isn’t anything going on).
In the case of those cookies: don’t test 175C, 180C and 185C. Instead, test 160C, 180C and 200C.
Step 3: Do you Experiment! (aka Cook/Bake/Prep)
Next up, start doing your experiment. The great thing is: this is what you know how to do. Just cook, bake or prep what it is you’re investigating. If that makes baking cookies, you’ll be baking cookies. Apart from a little extra measuring here and there and make splitting some things into portions, it’s not that different from normal kitchen work.
Measure Accurately
If you’re doing experiments, it is important that you compare properly. Even if you normally don’t weigh or measure things, now is a good time to do so. If you want to test the impact of different types of chili peppers for instance on the spiciness of your dish, make sure you properly measure them out so you make a fair comparison. When baking, use reliable measuring tools. This might mean using a scale even though you’re used to measuring with cups, just to be sure you’re got your measurements even.
Remember, a wrong measurement might skew your observation and lead to a wrong conclusion. You might think flour A works better than flour B, while unknowingly, you just didn’t add enough of flour B!
Make Notes
Take some notes while you’re doing your experiment. You don’t need a full fledged lab notebook (though who knows you might get one, a simple notebook can easily be transformed into one). Just a little piece of paper or your phone/camera to show what it is you did.
Label
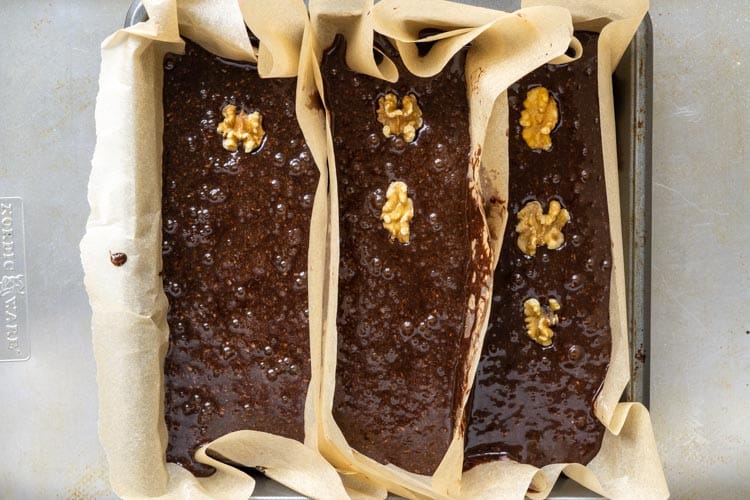
There’s nothing worse than having made several variations of a product and at the end not knowing anymore which is which! So, be sure to label your different experiments. You can be creative here, as we were with the brownies below. Just make sure your label does not impact your product.
Step 4: Eat, Analyze & Conclude
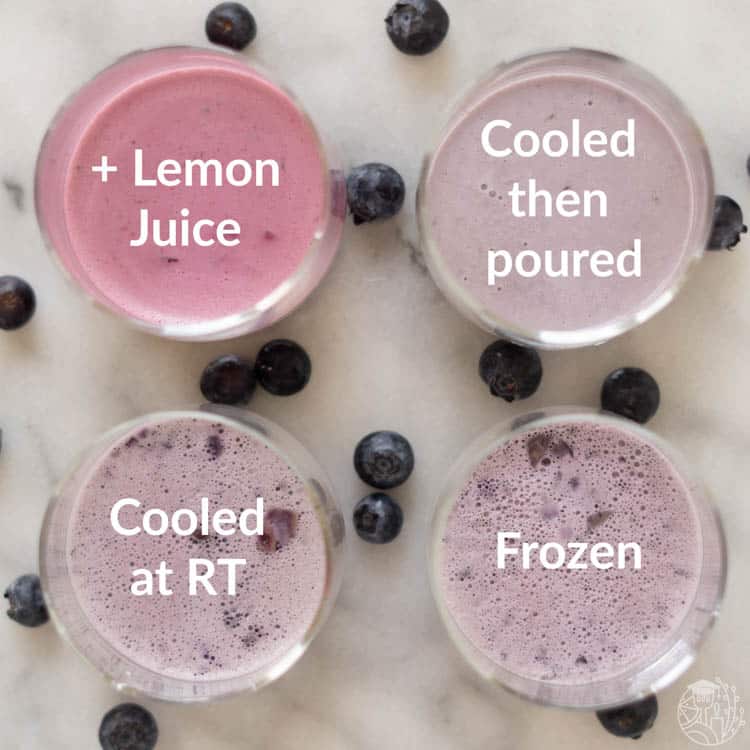
Once you’ve finished your food, it’s time to observe. Do your experiments look any different? Do they feel different? Does their texture differ? Or can’t you find any differences? This is a fun part, you’ll essentially be eating your experiments!
Don’t skew your results
Keep in mind that you know which sample is which product. As such, you might ‘taste’ or ‘see’ differences simply because you know how they’re different. Try blind tasting, have someone label them in an unknown code for you or have others taste your samples without telling them what is which. Just call your samples 1, 2, 3, … or A, B, C, … It will help you put your preconceived ideas behind you and really see if you can find a difference and which.
Don’t be surprised when you can’t find differences!
When reading recipes online and in books, you might sometimes get the idea that a small deviation will immediately ruin the whole thing. Fortunately, in a lot of scenarios, this is just not true. Cooking and baking are more robust processes than you might think. As such, you might not find any differences even though someone online might preach that the difference is enormous. Don’t worry. You’ve actually tested it (you’d be surprised at how many online claims have not been tested and are just repeated) and you know what you see. This is why you’re doing science :-).
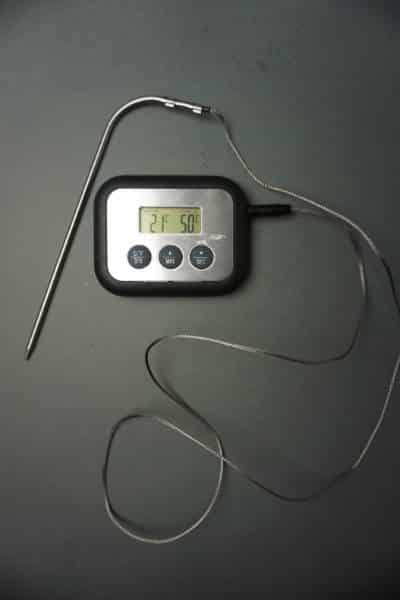
Measure and Analyze where you can
Sometimes you might be able to use a (simple) analytical technique to help you identify differences between products. For instance, you might use a thermometer to determine differences in temperatures or use pH-strips to measure the pH of your liquid. Using an analytical technique is a very objective way to find differences. The thermometer doesn’t expect anything to be warmer or cooler, it just measures it and gives you a number.
Step 5: Have Fun
Doing science in the kitchen doesn’t have to be complicated or fancy. You can truly do science with just about any recipe you have at hand. Just exchange one ingredient for the other, or tweak one process step and you’re on your way to becoming/being a scientist!
What's your challenge?
Struggling with your food product or production process? Not sure where to start and what to do? Or are you struggling to find and maintain the right expertise and knowledge in your food business?
That's where I might be able to help. Fill out a quick form to request a 30 minute discovery call so we can discuss your challenges. By the end, you'll know if, and how I might be able to help.


